Want to learn how to dermaplane your face at home so you can have smooth, glowing skin without spending hundreds of dollars on a facial? This is how I recommend you dermaplane your face at home as a holistic esthetician.
This post may contain affiliate links, which means I’ll receive a commission if you purchase through my links, at no extra cost to you. Please read full disclosure for more information.
Learning how to dermaplane your face at home may seem intimidating, but it’s actually safe and easy! I’m going to show you how to dermaplane your face step by step using the best at-home dermaplaning tool: Dermaflash Luxe.
When I used to work in spas, I would dermaplane my clients all the time, and I was always amazed at how beautiful their skin looked afterwards!
I’ve tried a few different at-home dermaplaning tools over the years, but the Dermaflash Luxe is definitely the best. I’ve had mine for years and love it so much, so I can’t recommend it enough!
After learning how to dermaplane your face at home, you may never want to get a facial again because you can do it all by yourself in the comfort of your own home. You will save money and time while still looking and feeling amazing.
This post is all about how to dermaplane your face at home using Dermaflash.
How To Dermaplane Your Face At Home
Dermaplaning Benefits
Before we get into the tutorial, I wanted to tell you all the amazing benefits of dermaplaning.
There are so many dermaplaning benefits for the skin, which is why it is one of my favorite exfoliation techniques. It is a physical type of exfoliation that manually gets rid of the top layer of dead skin cells.
It’s so satisfying and I love that no chemicals are required to get that soft, smooth, glowing skin.
Benefits include:
- Minimizes the appearance of acne scars, fine lines, and wrinkles
- Brightens the skin
- Gets rid of peach fuzz
- Smooths textured skin
- Allows for better product absorption
- Smoother makeup application (if you wear makeup)
- Chemical free
How To Dermaplane At Home
Now that you know the amazing benefits of dermaplaning, let’s get into learning how to dermplane your face at home!
If you need a visual, watch my IG video below:
1. Make Sure Your Dermaflash is Charged
It’s the worst when you’re about to dermaplane, but your dermaflash is dead so you have to wait for it to charge. I’ve only had to charge my dermaflash a few times over the years, so the battery is really good!
2. Wash Your Face
It’s important that your skin is clean and dry before dermaplaning.
You can use any cleanser you like as long as there is no residue left behind. I would use something that washes off really well and leaves your skin free of excess oil.
Here is a great cleanser I recommend that is non toxic and good for all skin types:
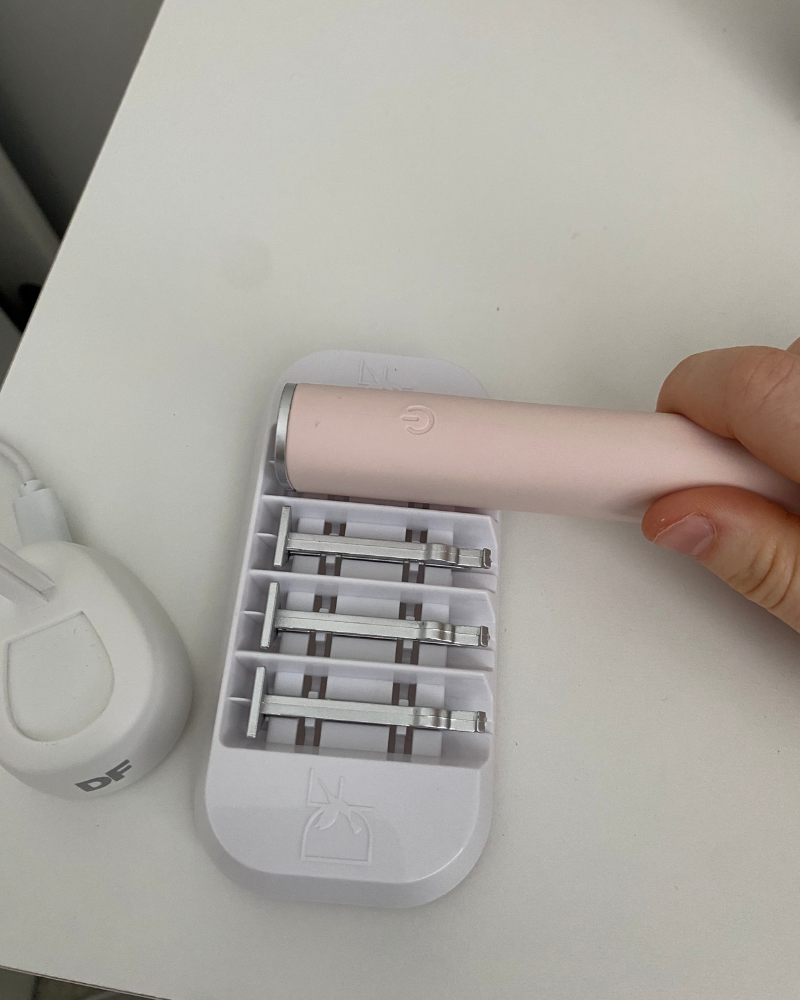
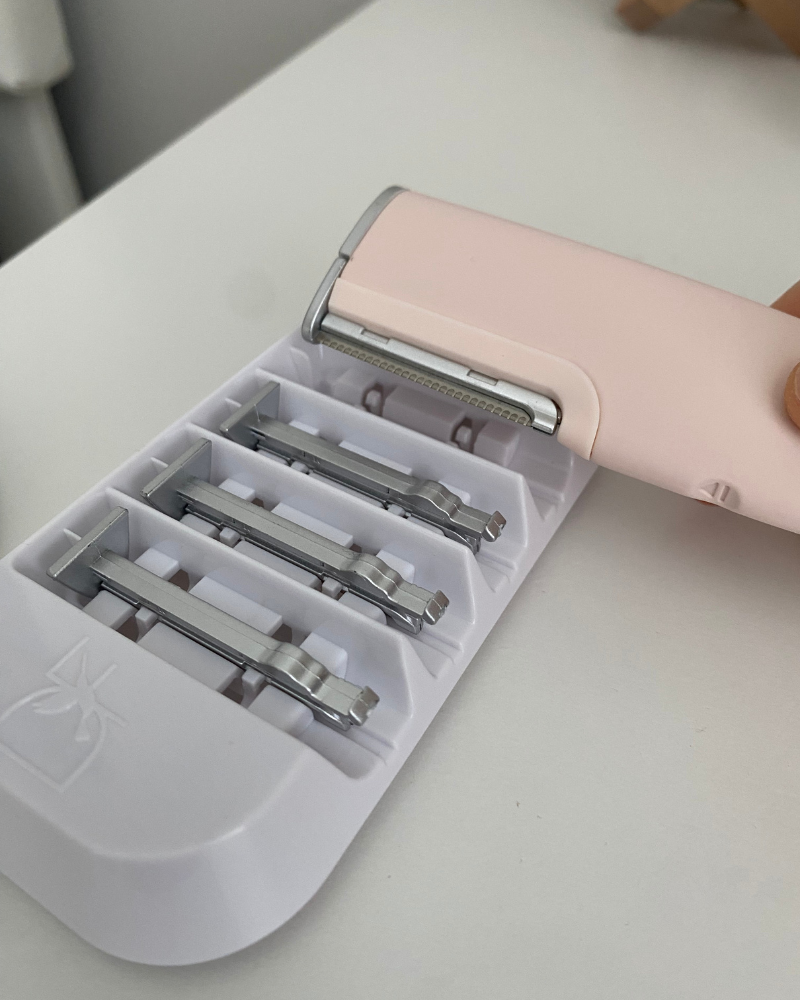
3. Install The Edge
Dermaflash calls their blades “edges.” They aren’t true dermaplane blades you would find in a spa, but they work just as well. They also have a safety feature to make sure you will not cut yourself!
Dermaflash doesn’t sell their edges by themselves. It comes with the face wash, but I don’t recommend using this face wash because it is not up to my high standards of non toxic beauty. I recommend the Saint Jane cleanser mentioned above!
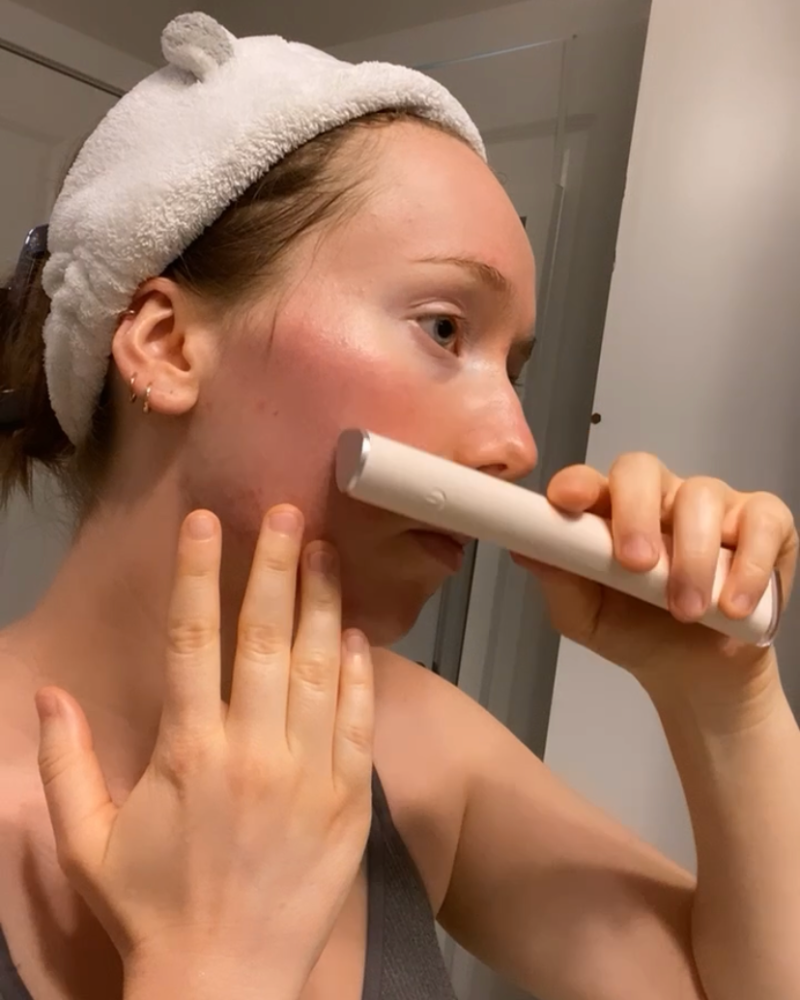
4. Dermaplane Your Face
Now you’re ready to start dermaplaning your face!
The Dermaflash has two speed settings. I usually prefer to use the lower speed over my whole face and then do any touch-ups with the higher speed.
It’s important to be super gentle and not to over-exfoliate.
I like to wipe the edge as I go because you will start to collect a lot of dead skin and hair on it.
5. Rinse Your Face
After you finish dermaplaning, rinse or wash your face again to make sure you remove all that dead skin and peach fuzz.
6. Discard The Used Edge
The edges are made to be single use, so after you’re done dermaplaning your face, toss the edge in the trash.
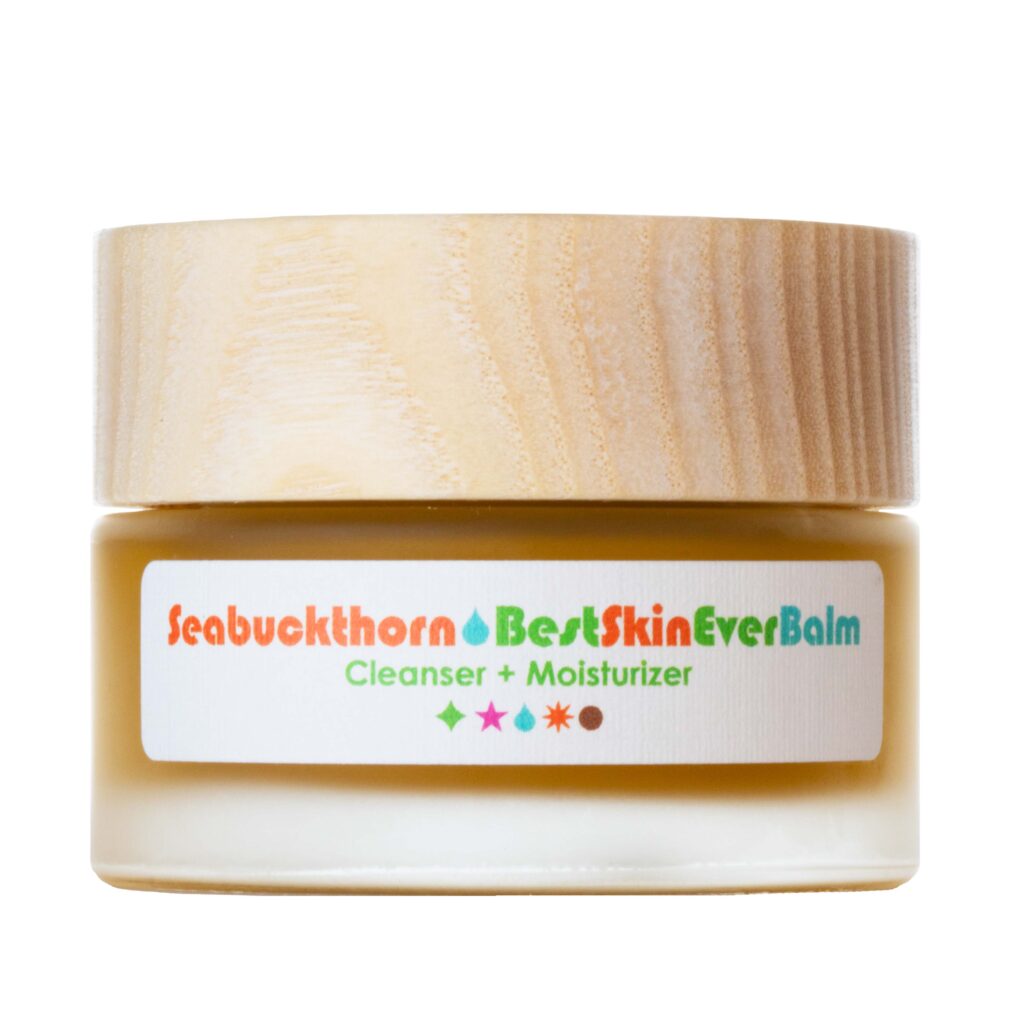
7. Hydrate and Nourish Your Skin
It’s soooo important to follow up with some nourishing skincare after you dermplane. Your skin is very vulnerable and needs extra love and hydration. I like to follow up with a hydrating mist and thick cream, such as these below:
8. Enjoy Your Fresh, Glowing Skin!
Now you can enjoy your beautiful, smooth skin! You can dermaplane as much as once a week, or spread it out as needed. I find most people only need to do it once a month.
{RELATED POST: How To Do A Holistic Facial At Home (Better Than The Spa)}
Dermaplaning Myths
You might be afraid that once you start dermplaning you will begin to grow dark, coarse hair and soon have a beard.
This is a huge myth.
You would literally have to change your DNA to change how your hair grows! Many studies prove that shaving cannot change your hair growth and thickness.
Hopefully, this puts your mind at ease because I know some people have that concern. Trust me, once you try dermaplaning, you’ll be hooked!
This post was all about how to dermaplane your face at home using Dermaflash Luxe.
OTHER POSTS YOU MAY LIKE:
Are Facials Beneficial? How I Went From Giving Facials To Telling People Not To Get Them


Leave a Reply