Do you want to get a facial, but you don’t want to go out and spend hundreds of dollars at a spa? I’m a holistic esthetician and in this post, I’m going to teach you how to do a holistic facial at home.
Let’s face it, facials are expensive that’s why it’s good to learn how to do a holistic facial at home.
A lot of estheticians recommend getting facials once a month or more. That’s a lot of time at the spa and a lot of money!
If that’s something you love and want to continue doing, then by all means do it. Most of us do not have that kind of luxury, though, which is why I wanted to create this post for you all.
Facials are a luxury, not a necessity.
When I did facials on clients I would tell them to come back quarterly with the change in seasons because truth be told, the real work is coming from YOU. You’re the one that’s going to be taking care of your skin 99% of the time. You don’t need to go into the spa every month, or at all for that matter.
This holistic facial at home is going to be great for those who:
- Don’t want to spend a ton of money on facials
- Want to learn more about how to take better care of their skin
- Want to take their skin into their own hands and not rely on someone else to do the work
This at-home facial is something you can do once a month on yourself. It can become a fun ritual and self-care moment you’ll look forward to!
I’ll be giving you step-by-step instructions on exactly how to give yourself a holistic facial in the comfort of your own bathroom. After this, you’re going to feel confident knowing this is something you can easily do to maintain your beautiful skin!
This post is all about how to do a holistic facial at home.
This post may contain affiliate links, which means I’ll receive a commission if you purchase through my links, at no extra cost to you. Please read full disclosure for more information.
The Best Holistic Facial At Home
Before you start your facial, get comfortable. Throw on a comfy robe or some PJs. Light a candle, burn some palo santo, or do whatever you need to do to feel calm and cozy.
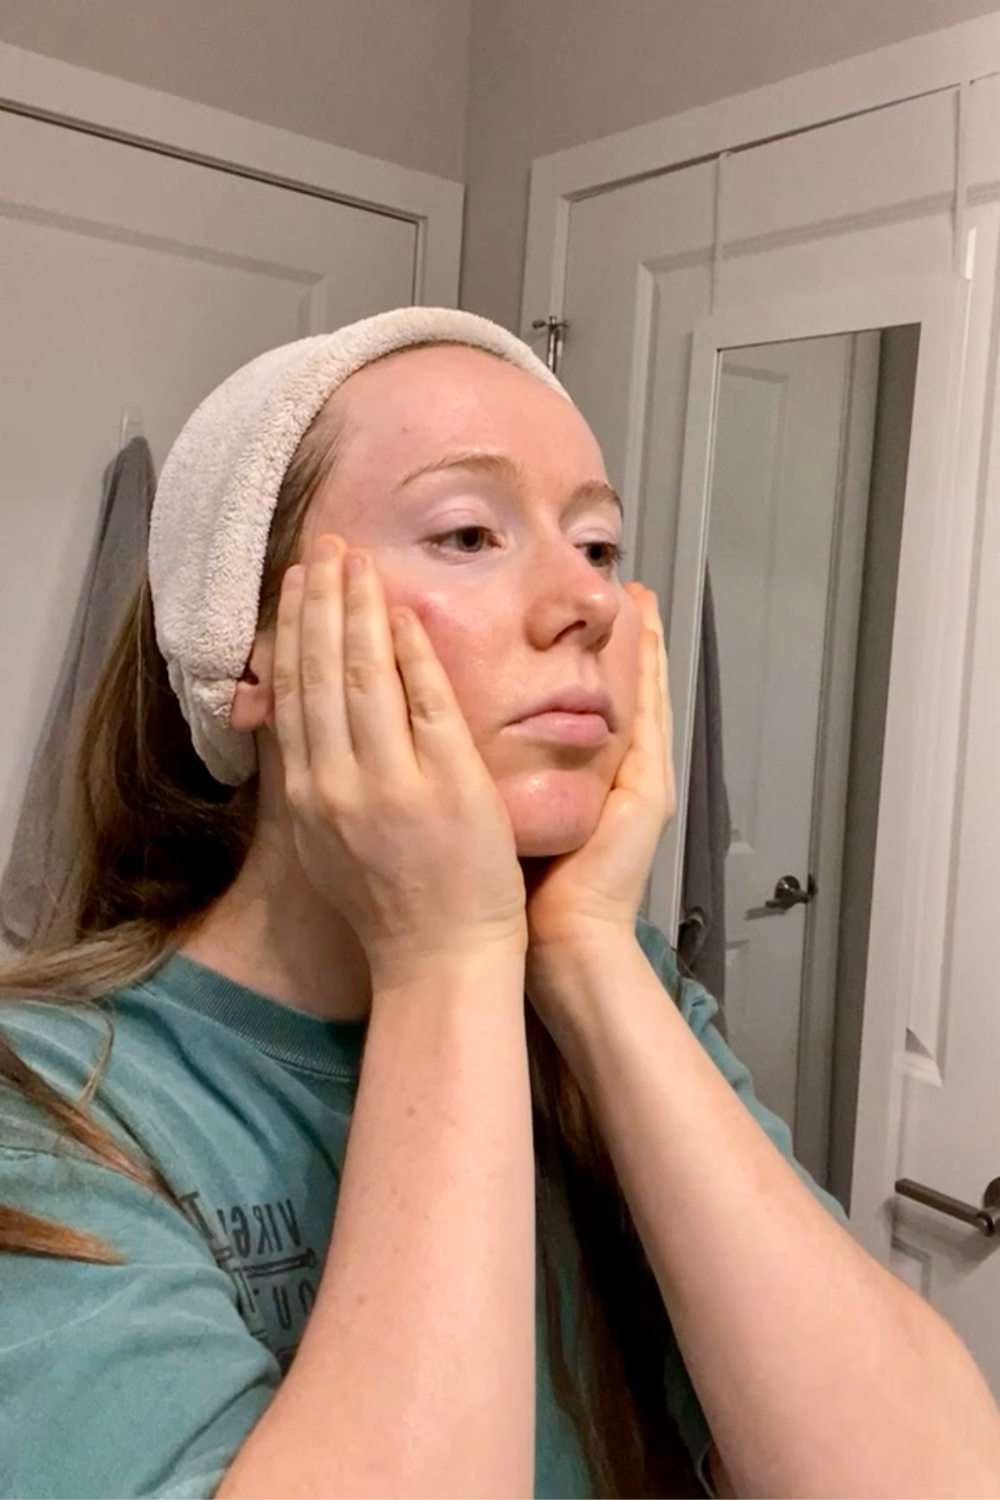
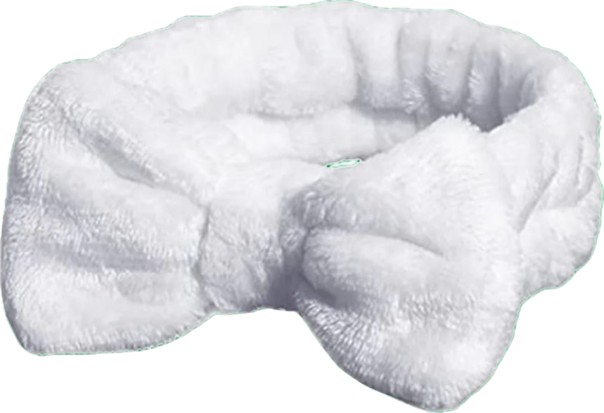
If you have long hair you’ll want to pull your hair back into a headband. Here are some cute skincare headbands I suggest:
Now that you’re comfortable and your hair is pulled back, you’re ready to start your facial!
1) Cleanse | ~5 min.
Cleansing is the most important step in your skincare routine.
You’ll want to use a really good cleanser and make sure you’re cleansing your skin every single night.
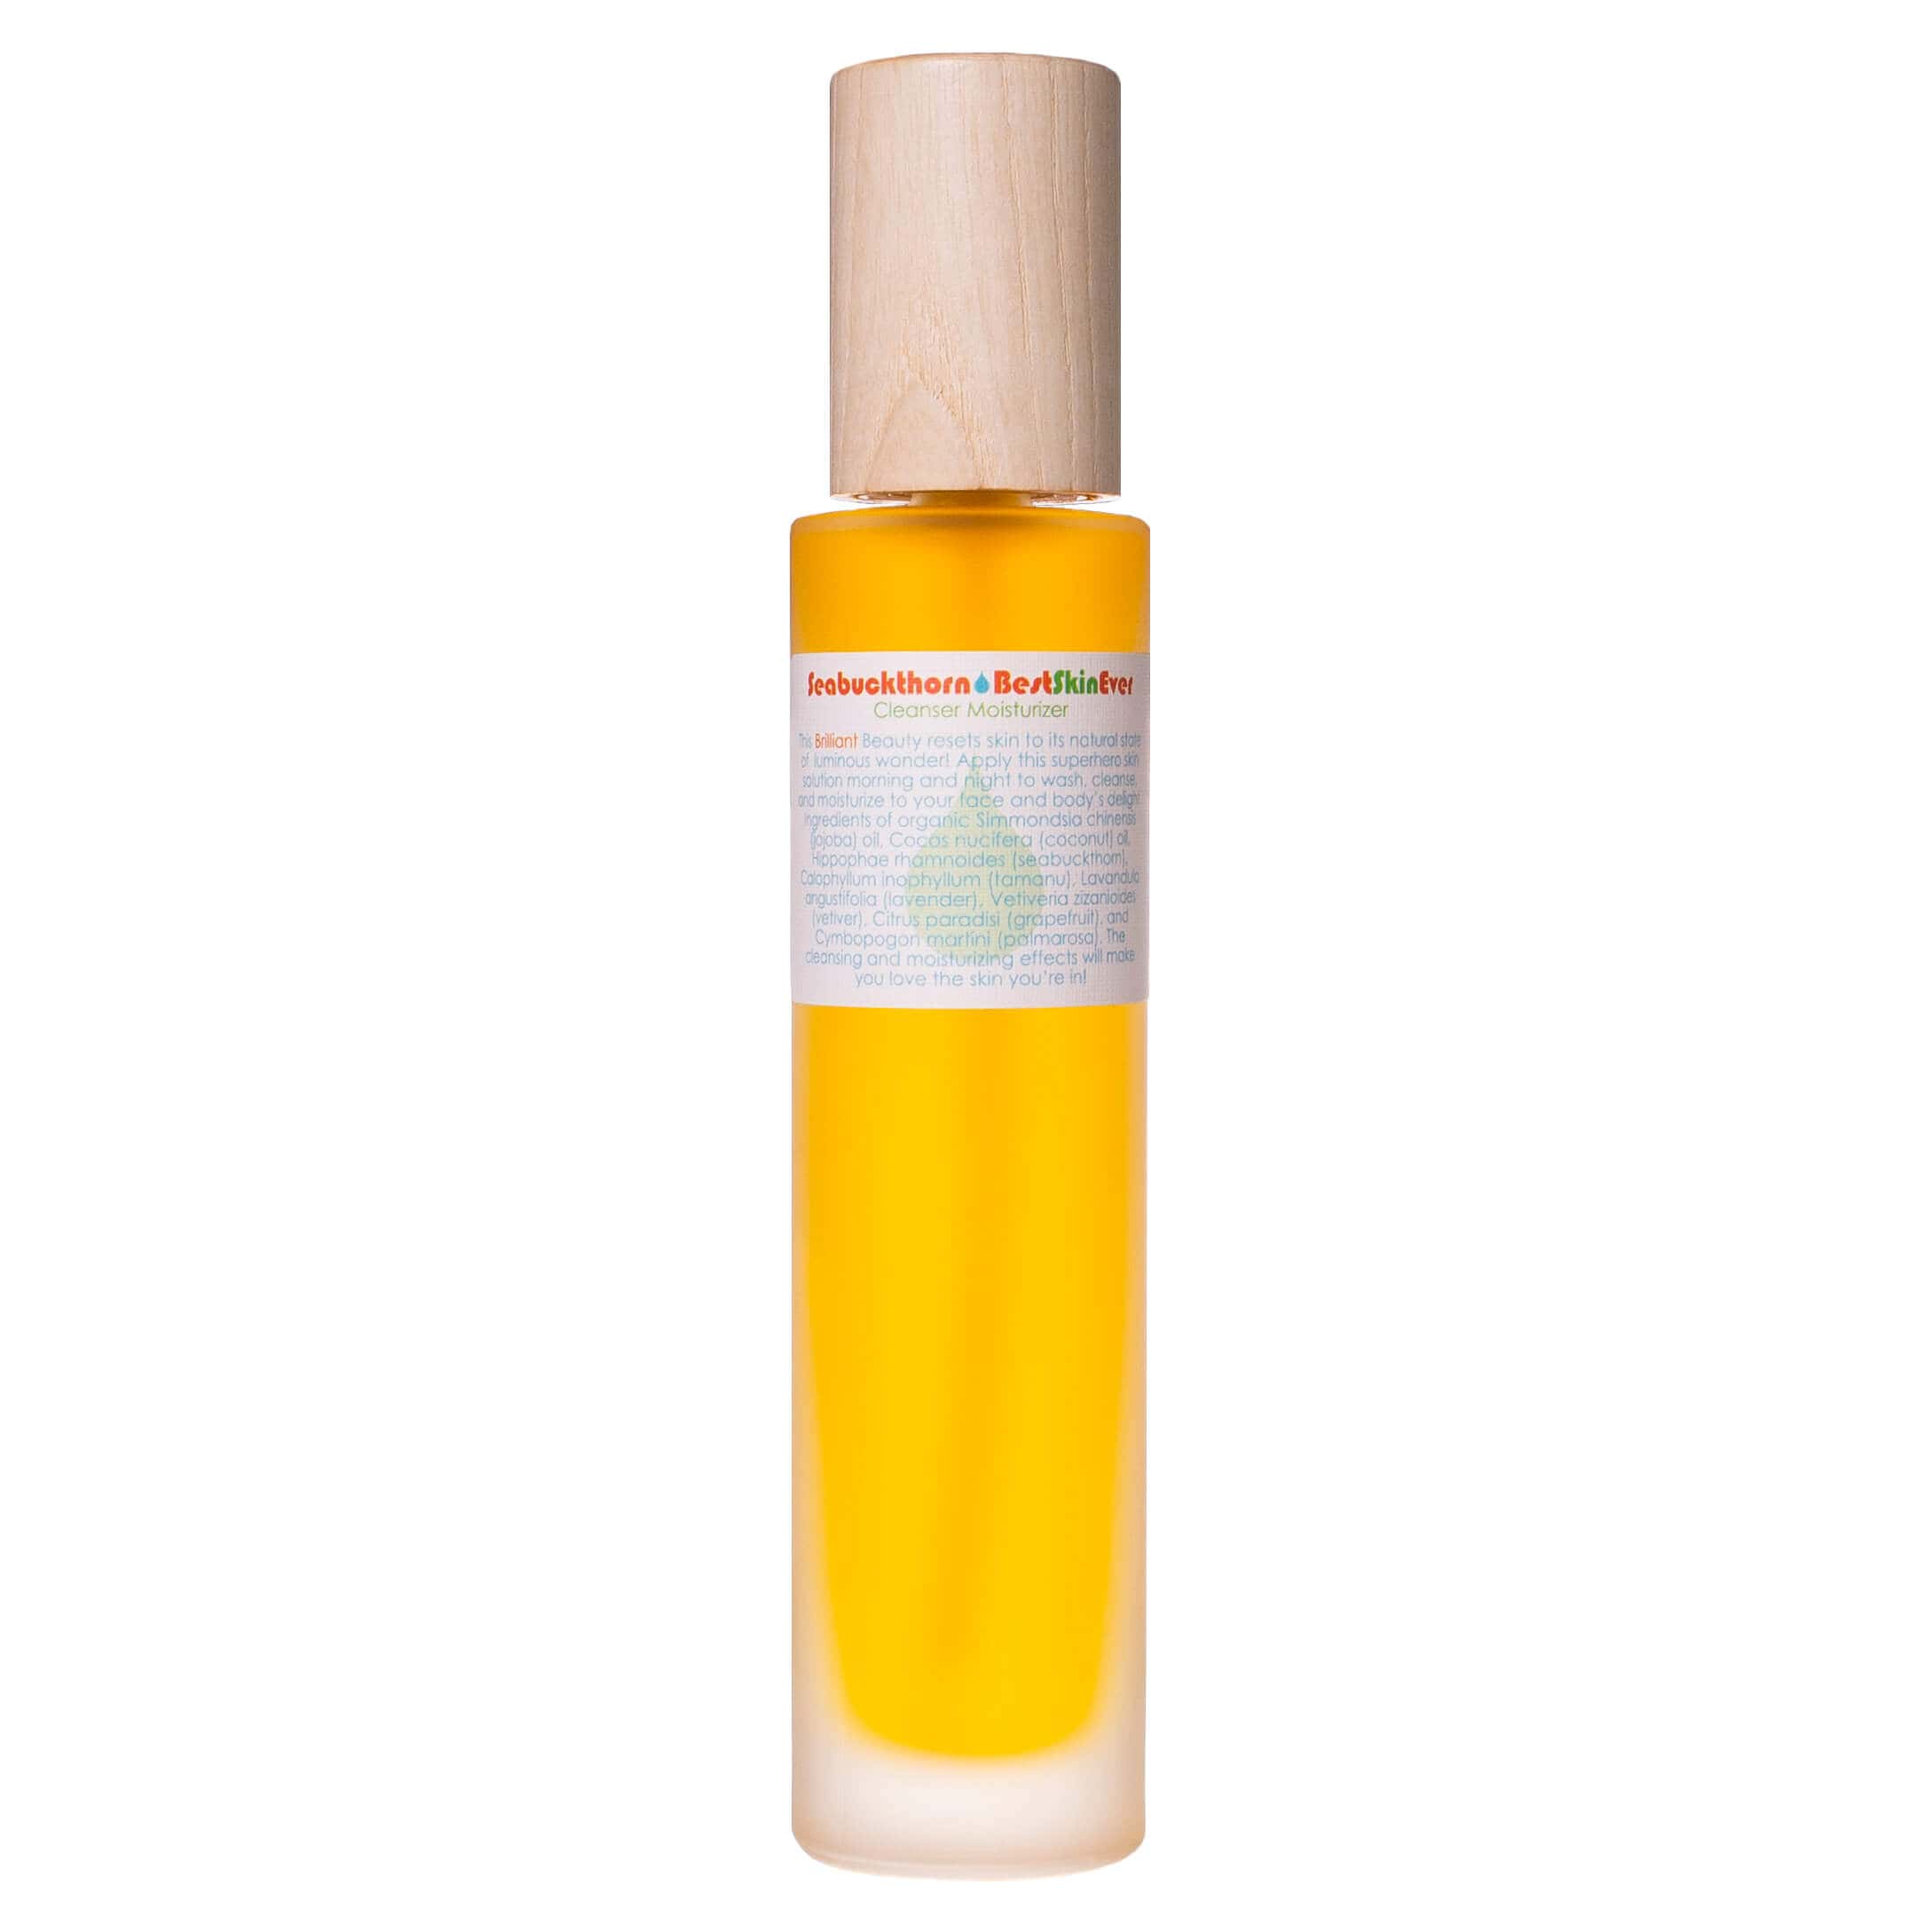
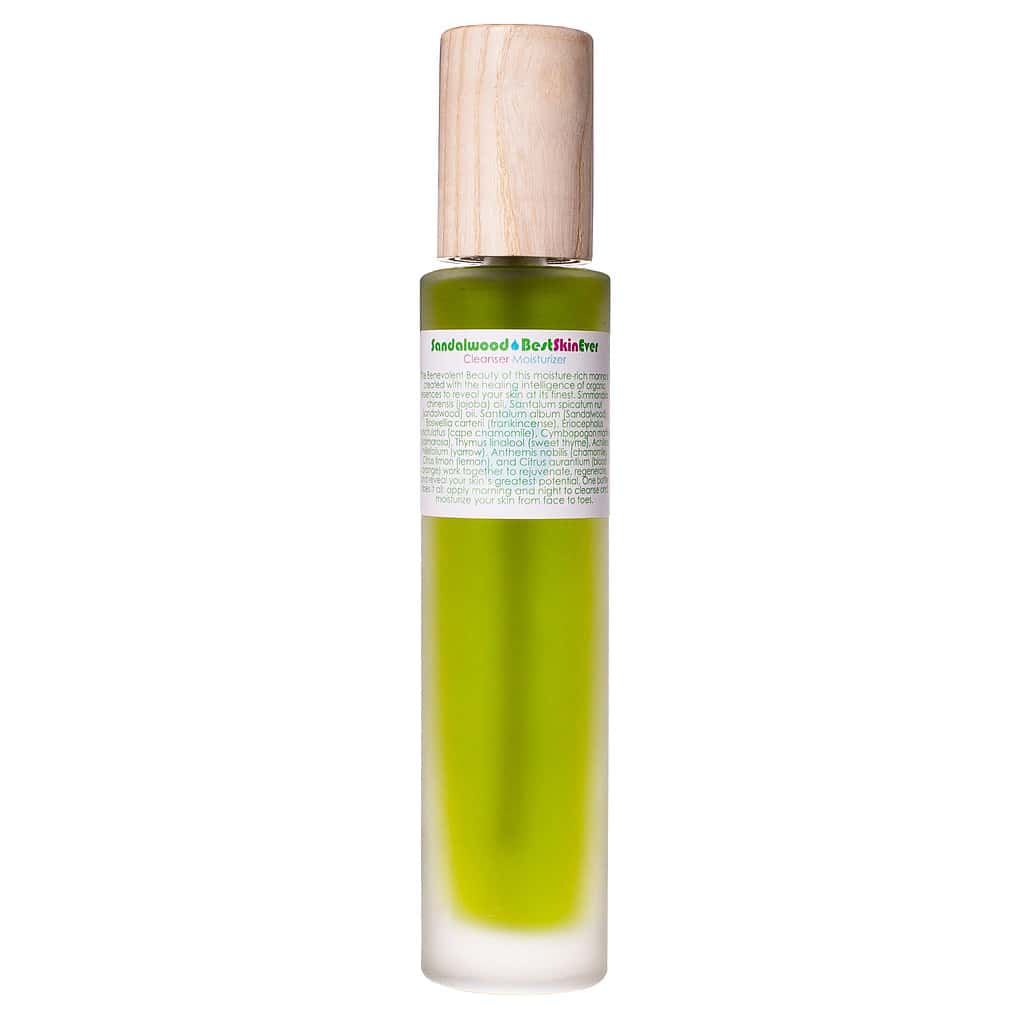
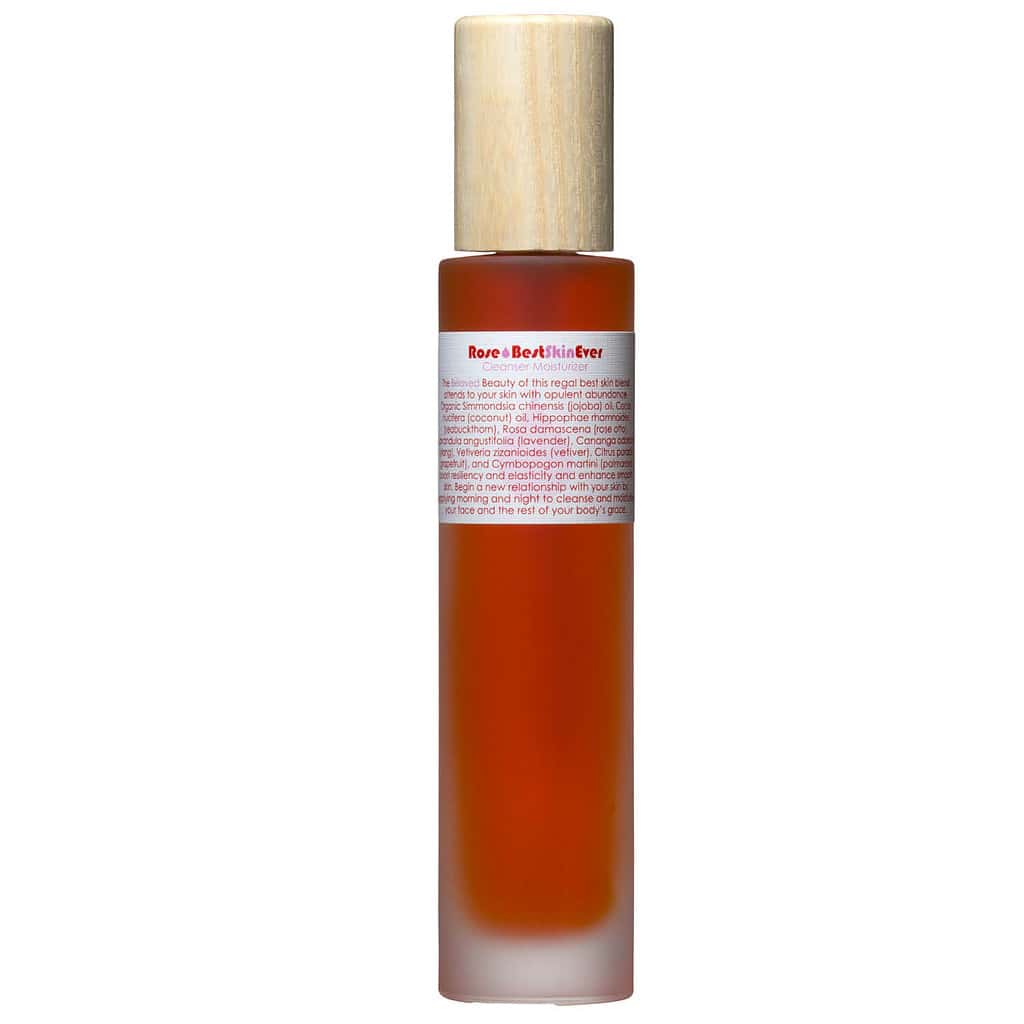
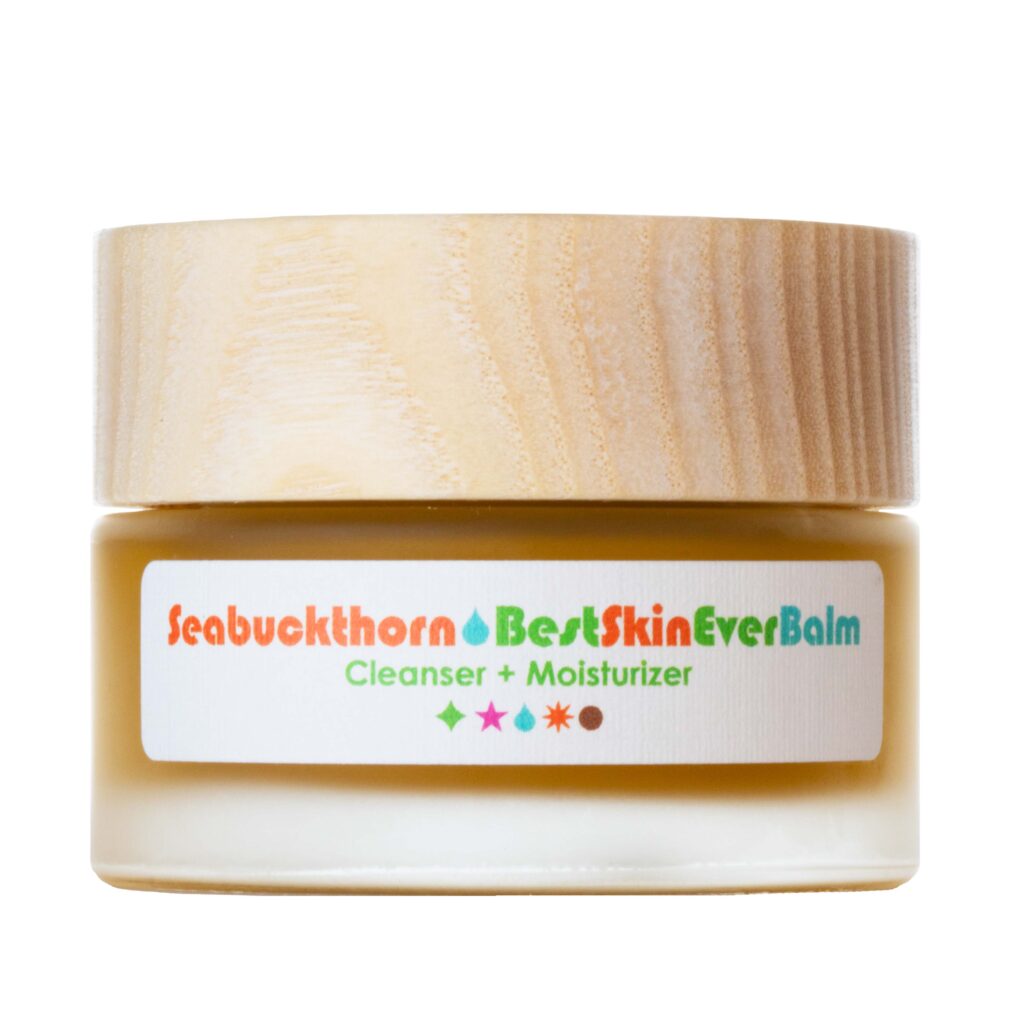
I recommend using one of the Living Libations Best Skin Evers(BSE) to get a super effective cleanse.
👇🏼Make sure you’ve read my tutorial on how to cleanse with these incredible oil cleansers!👇🏼
How to Oil Cleanse in 6 Easy Steps
2) Tone | ~ 1 min.
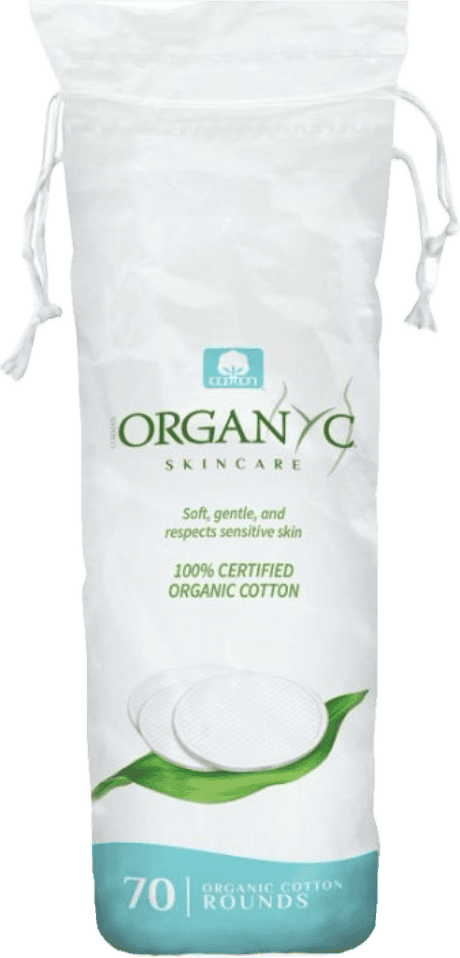
Now it’s time to tone your skin. You’ll need a cotton round and some toner.
Spray some toner onto your cotton round and wipe any excess cleansing oil from your skin. This is going to help prep your skin for the next step: exfoliation.
Here is a great toner I recommend:
3) Exfoliate | ~10 min.
There are two types of exfoliation: physical and chemical. Physical exfoliation sloughs off dead skin on the surface while chemical exfoliation goes deeper into the skin.
We’re going to do both types of exfoliation during this facial starting with physical exfoliation.
My favorite type of physical exfoliation is dermaplaning. The dermaflash is the absolute best at-home dermaplaning tool. I’ve been using mine for over 2 years now and I love it!
👇🏼Check out my tutorial on how to dermaplane your face at home!👇🏼
How To Dermaplane Your Face At Home Using Dermaflash Luxe
After you dermplane, rinse your face with water and pat it dry. You’re going to apply the chemical exfoliant next.
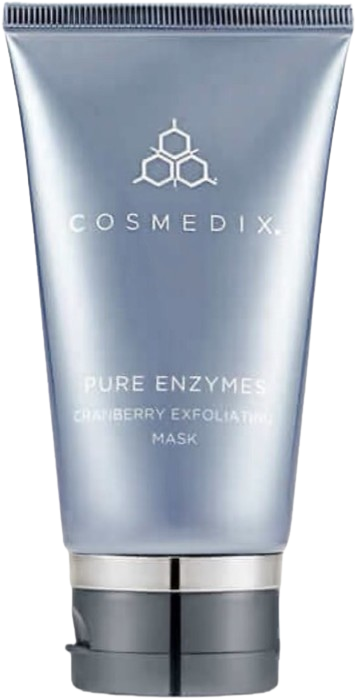
I like using an enzyme exfoliant because they are gentle and made up of fruit extracts. Even the most sensitive skin can usually handle enzyme exfoliants.
I will list some options below that are great for every skin type, even sensitive skin:
Siam Seas Mekha Cleanser & Exfoliant
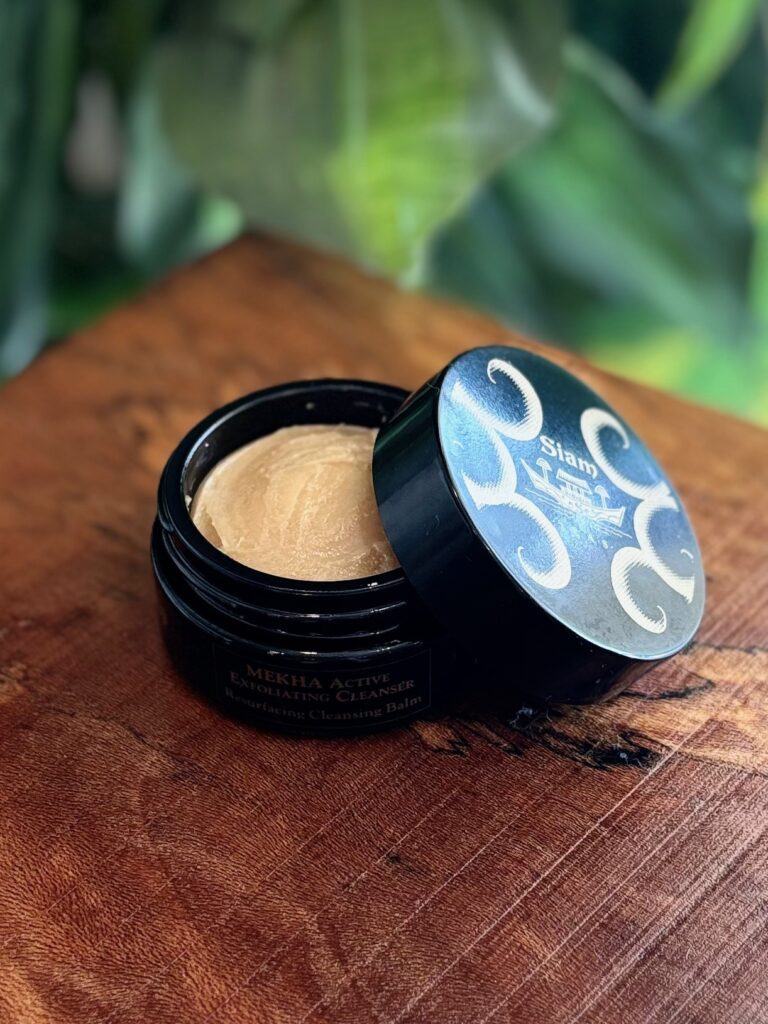
Get for those who prefer a scrub.
4) Treat | ~ 5 min.
After you exfoliate it’s time to treat your skin.
Your skin is going to be ready to absorb whatever you put on it next since you just got rid of that dead skin layer.
Make sure you’ve rinsed your enzyme exfoliant off before applying your serum!
It’s best to go in with a hydrating serum that’s going to target whatever your main concern is. Is your main concern wrinkles, acne, pigmentation, redness? Pick out a serum that is going to address your main issue and apply it to your skin.
Here are some great serums for different concerns below:
5) Massage | ~15 min.
Now this is part of the facial that you will want to relax. Sit down in front of a mirror and get comfortable! You can choose whether you want to massage your skin with your hands or a gua sha stone.
You’ll want to apply a little bit of BSE to your skin before massaging so you have some glide.
If you’re massaging with your hands I recommend you follow one of these tutorials from Ksenija who is a licensed beauty therapist. Her massage videos are so good and so relaxing!
If you’re doing gua sha, I recommend you follow this video from Danna Omari, a licensed esthetician who actually created her own gua sha stone. She was an incredible person and really knew her stuff!
{RELATED POST: My Incredible Transformation Using Danna Omari Gua Sha (The Before and After Is Jaw Dropping)}
6) Mask | ~10 min.
After your massage, it’s time to grab a damp, hot towel and wipe any oil residue from your skin.
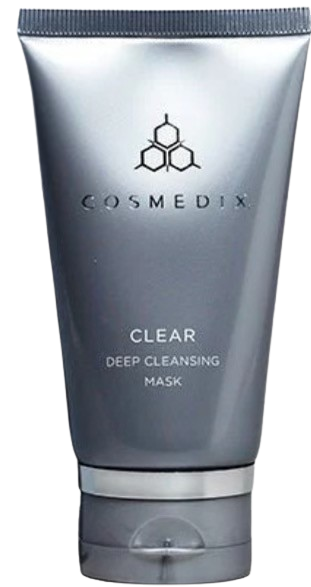
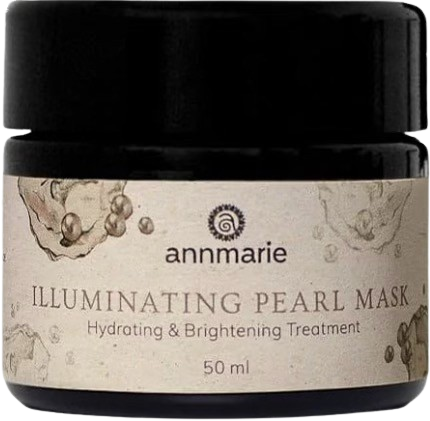
Now you can go in with your favorite mask and let that site for about 10 minutes. If you need recommendations I have some below!
7) Moisturize and Protect | ~5 min.
This is the last part of the facial where you will moisturize your skin and apply protecting products to seal in all the the wonderful work you just did!
Hydrating Mist
Spray a hydrating mist onto your skin. This is going to prep your skin to better absorb what you put on it afterward.
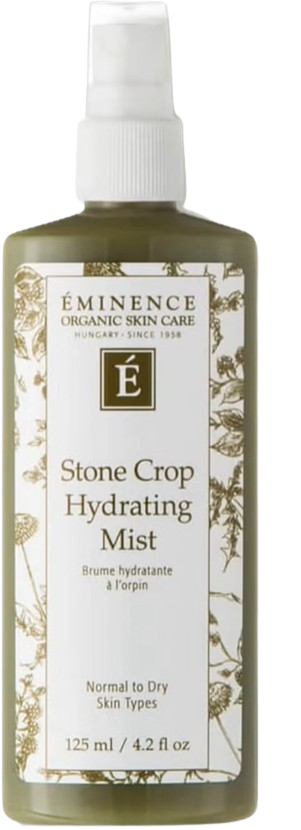
You can use the Éminence Stone Crop mist from earlier, except this time do not spray it onto a cotton round. Spray it directly onto your skin.
Éminence Stone Crop Hydrating Mist
Optional step : I like to do a type of massage called tapotement after applying my hydrating mist. It helps the product sink better into the skin. All you do is tap your fingers on your skin like your playing the piano. It’s that simple!
Serum
Apply more of your serum from earlier. Or you can use a different serum if you have multiple serums at your disposal.
I personally like to use different serums during a facial because it helps to target different issues at once.
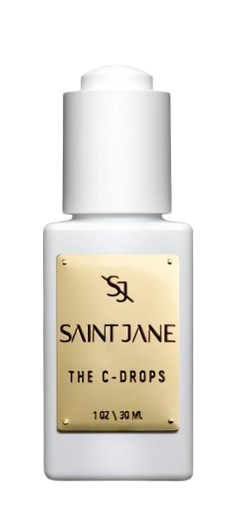
For example, let’s say I was concerned with brightening my skin and dehydration. I would use the 100% Pure Rose Water serum before the massage, and then I would apply the Saint Jane Vitamin C glow drops during this last part of the facial.
That way I am targeting both of my concerns at once!
Eye Cream
I was never really much of an eye cream person, but I know it’s very important to have a good one that you like because the skin is so delicate and thin there.
I’ve been using 100% Pure’s Coffee Bean Caffeine Eye Cream and it’s my favorite by far. It’s the only eye cream I consistently use because the texture is so perfect.
It addresses all the major concerns and just feels so good!
100% Pure Coffee Bean Caffeine Eye Cream
Moisturizer
This is such an important part of the facial because you’re sealing in all the goodness you just did to your skin.
I will list a few different options for moisturizers that I know anyone will love and enjoy using.
Maya Chia Super Couple

I loveee this facial oil! It has the best texture and sinks beautifully into the skin. Once you use it you will be hooked!
Saint Jane Petal Cream
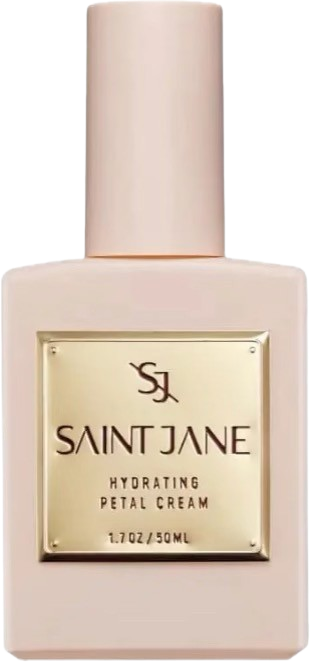
This is such a beautiful cream. It makes your skin feel so soft. The lightweight texture is perfect for daytime or those who are more oily.
Lip Treatment
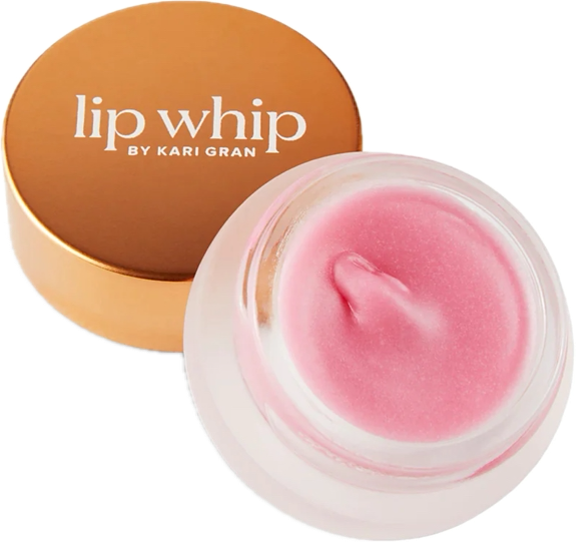
Lips are last. A lot of people forget about the lips, but it’s a crucial step in the facial!
Kari Gran Lip Treatment
If you have any questions at all please let me know in the comments! Enjoy your facials everyone 🙂
This post is all about the best holistic facial you can do at home.
OTHER POSTS YOU’LL LIKE:
How To Dermaplane Your Face At Home Using Dermaflash Luxe
My Incredible Transformation Using Danna Omari Gua Sha (The Before and After Is Jaw Dropping)
9 Holistic Skin Care Tips I Swear By As A Holistic Esthetician








Leave a Reply